
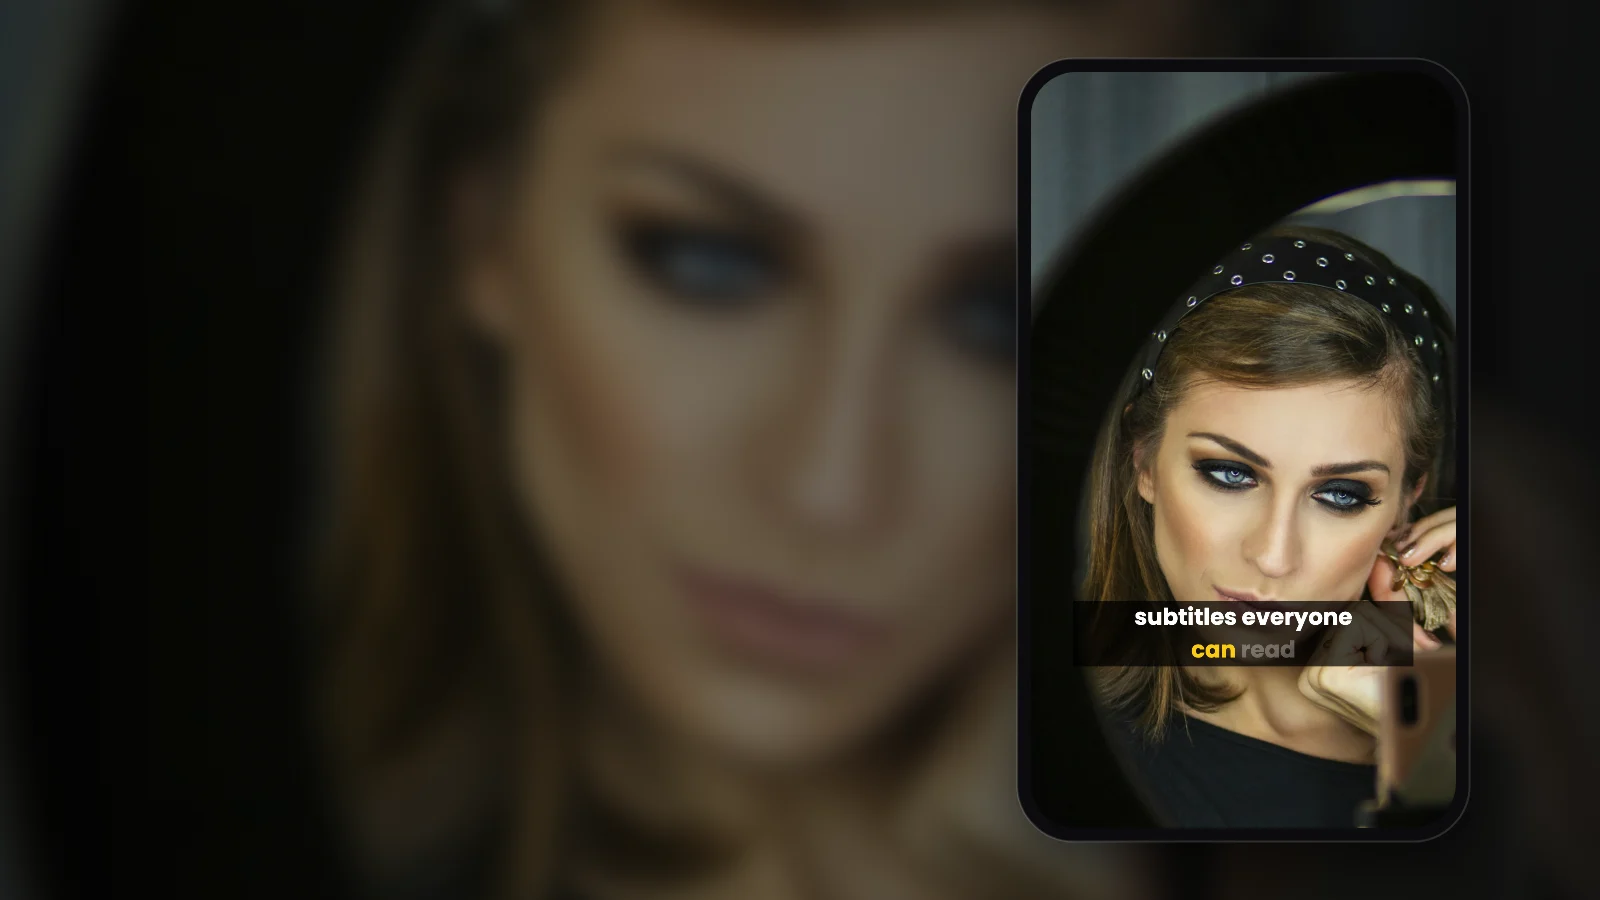
There are three ways to add subtitles to an Instagram Reel. Add the Captions sticker while you edit the Reel, and Instagram transcribes your speech onto the video. Turn on Show captions before you share, and viewers who have captions switched on see Instagram's own subtitles. Or burn styled subtitles into the video before you upload it, so you choose the font, colors and animation, and every viewer sees them.
Option 1: Instagram's Captions sticker
The Captions sticker puts transcribed subtitles on the Reel itself, so they show for everyone who watches it:
- Tap + and choose Reel, then record or pick a video.
- Tap Next to open the editor, then tap the sticker icon.
- Choose the Captions sticker. Instagram transcribes the speech and places the subtitles on the video.
- Tap the subtitles to fix any wrong words, choose one of the few caption styles, and change the color.
- Drag the subtitles where you want them, pinch to resize, then finish and share the Reel.
What to expect:
- Good for: quick subtitles everyone sees, with no extra app.
- Look: a handful of preset styles and colors. There's no custom font, outline or word-by-word highlighting.
- They stay on Instagram. Download the Reel to post it elsewhere and you may need to subtitle it again.
Option 2: Instagram's auto-generated captions
Instagram can also make closed captions that viewers turn on or off:
- Before you share a Reel, tap Advanced settings.
- Under Accessibility, turn on Show captions (Instagram Help Center).
Viewers who have captions switched on in their own settings (Settings, Accessibility, Captions) then see Instagram's plain captions at the bottom of the Reel. Viewers with captions off see nothing, and you can't style them.
Option 3: Burn styled subtitles into your Reel
Burned-in subtitles are part of the video picture itself. Everyone sees them, styled the way you chose, and they come along when you post the same clip to TikTok or YouTube Shorts. With AutoSubtitles it takes a minute or two in your browser, with no account and nothing to install.
Step 1: Open AutoSubtitles
Go to autosubtitles.com and click New Video.
Step 2: Choose your Reel
Pick your video file (MP4, MOV, WebM and most common formats work), then choose its language or leave it on Auto Detect. Your video stays on your device; only the audio is sent for transcription.
Step 3: Check the subtitles
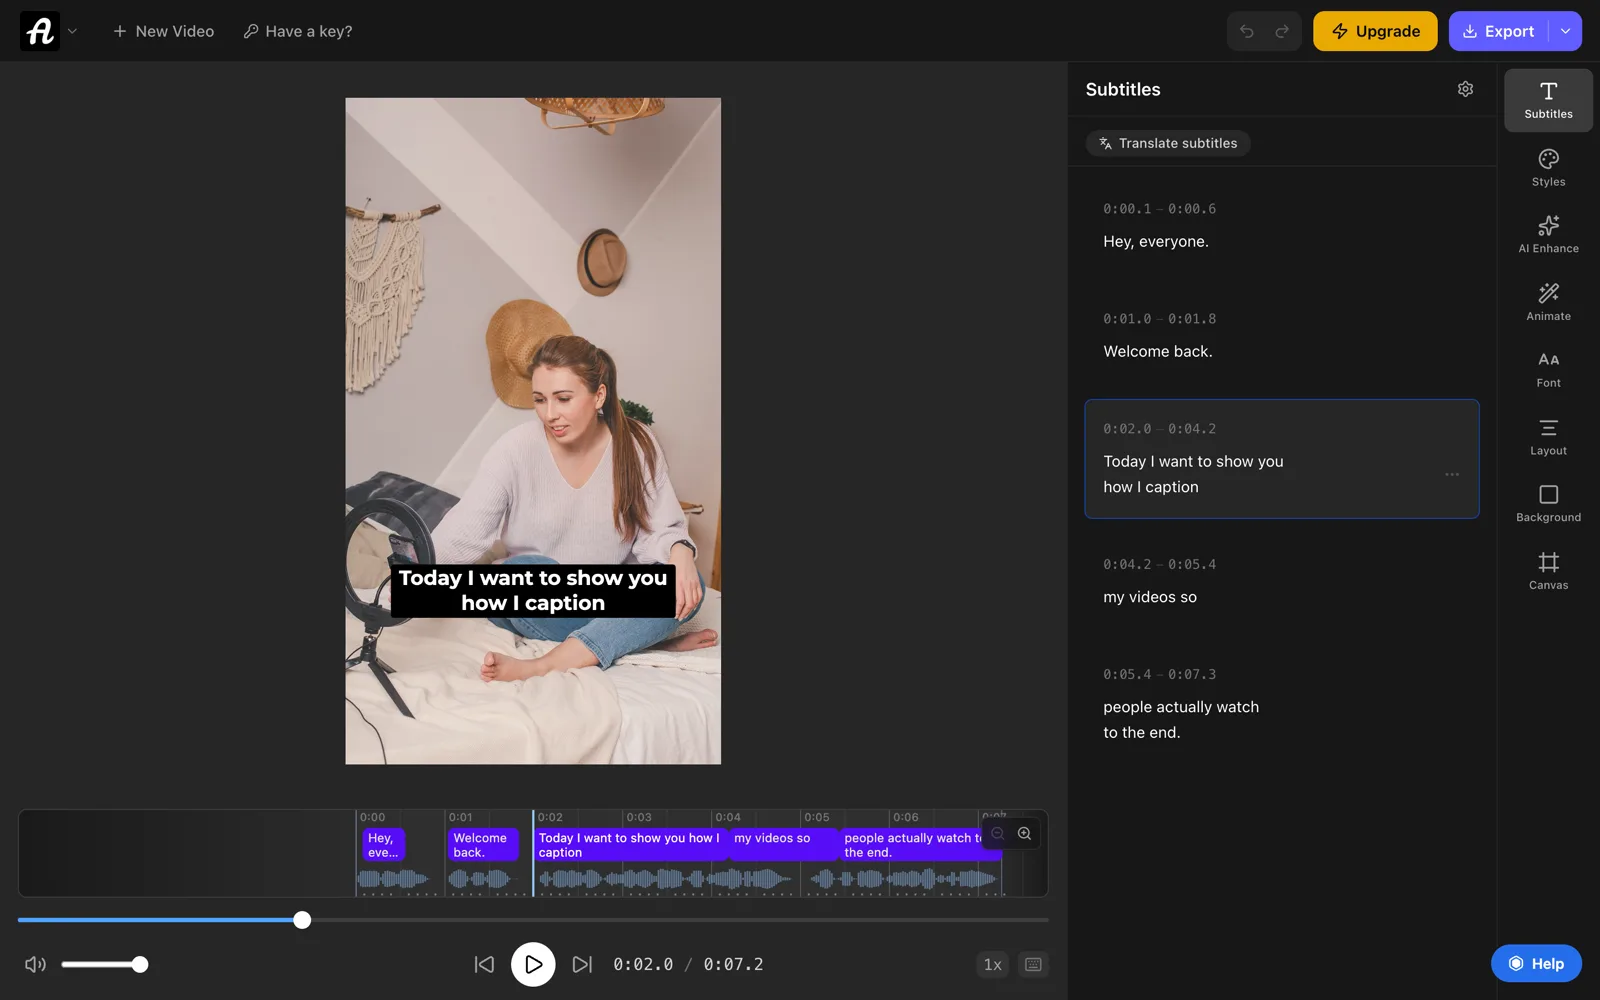
Subtitles appear automatically, usually in a few seconds. Click any line to fix a word or change its timing.
Step 4: Style them for Reels
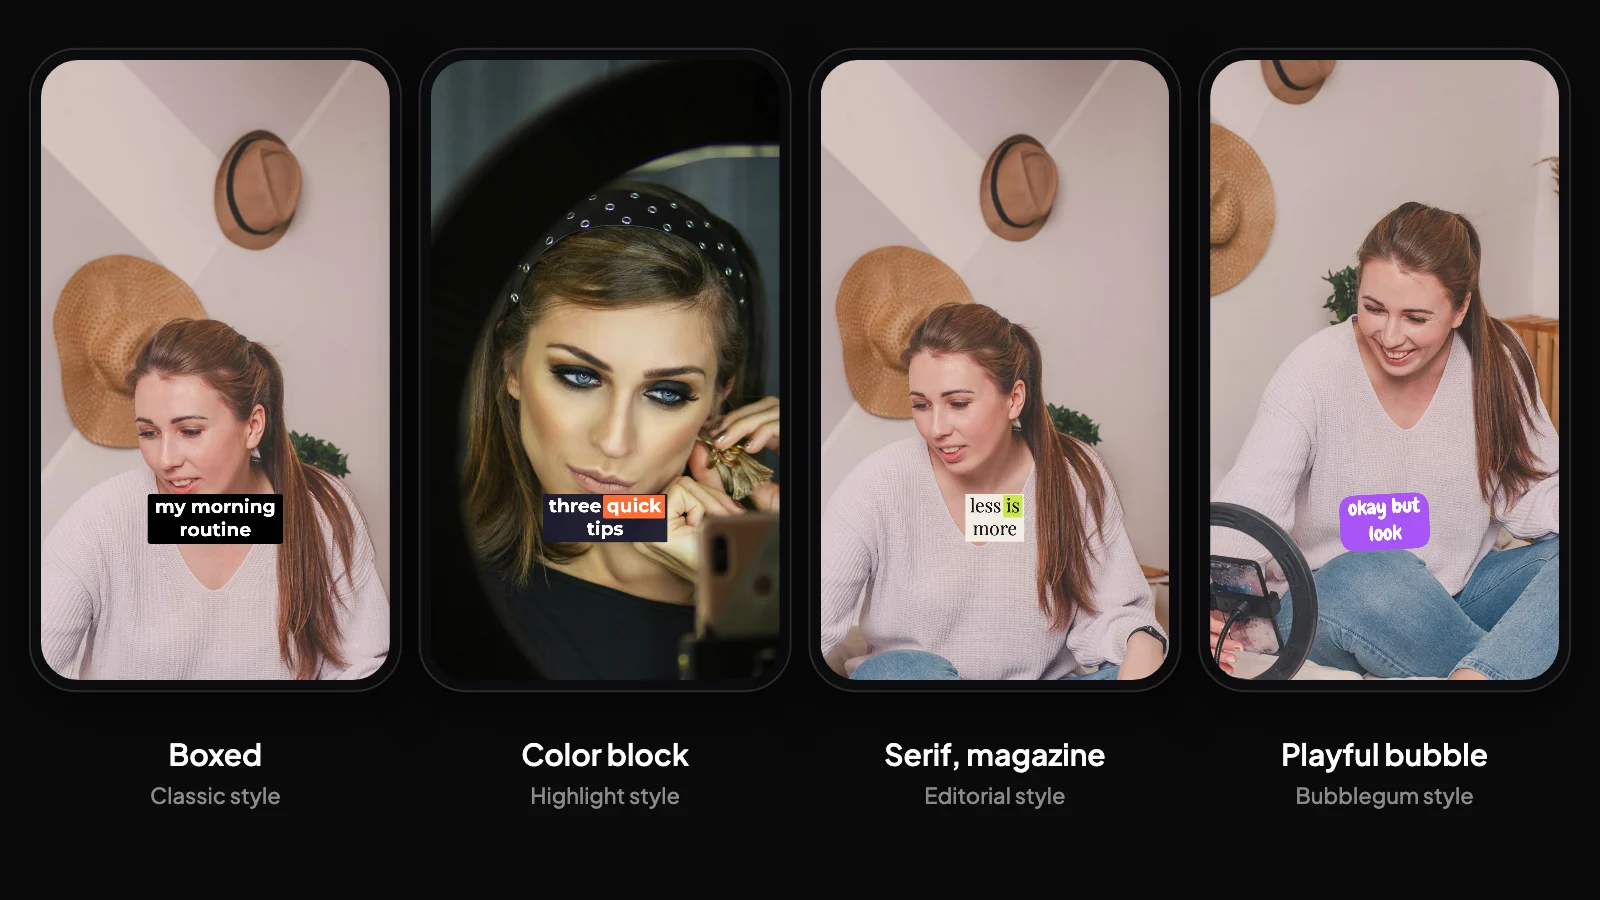
Open Styles and pick one of 28 caption styles, then adjust:
- Font, color and size to match your brand
- Outline, shadow or background so the text reads on any footage
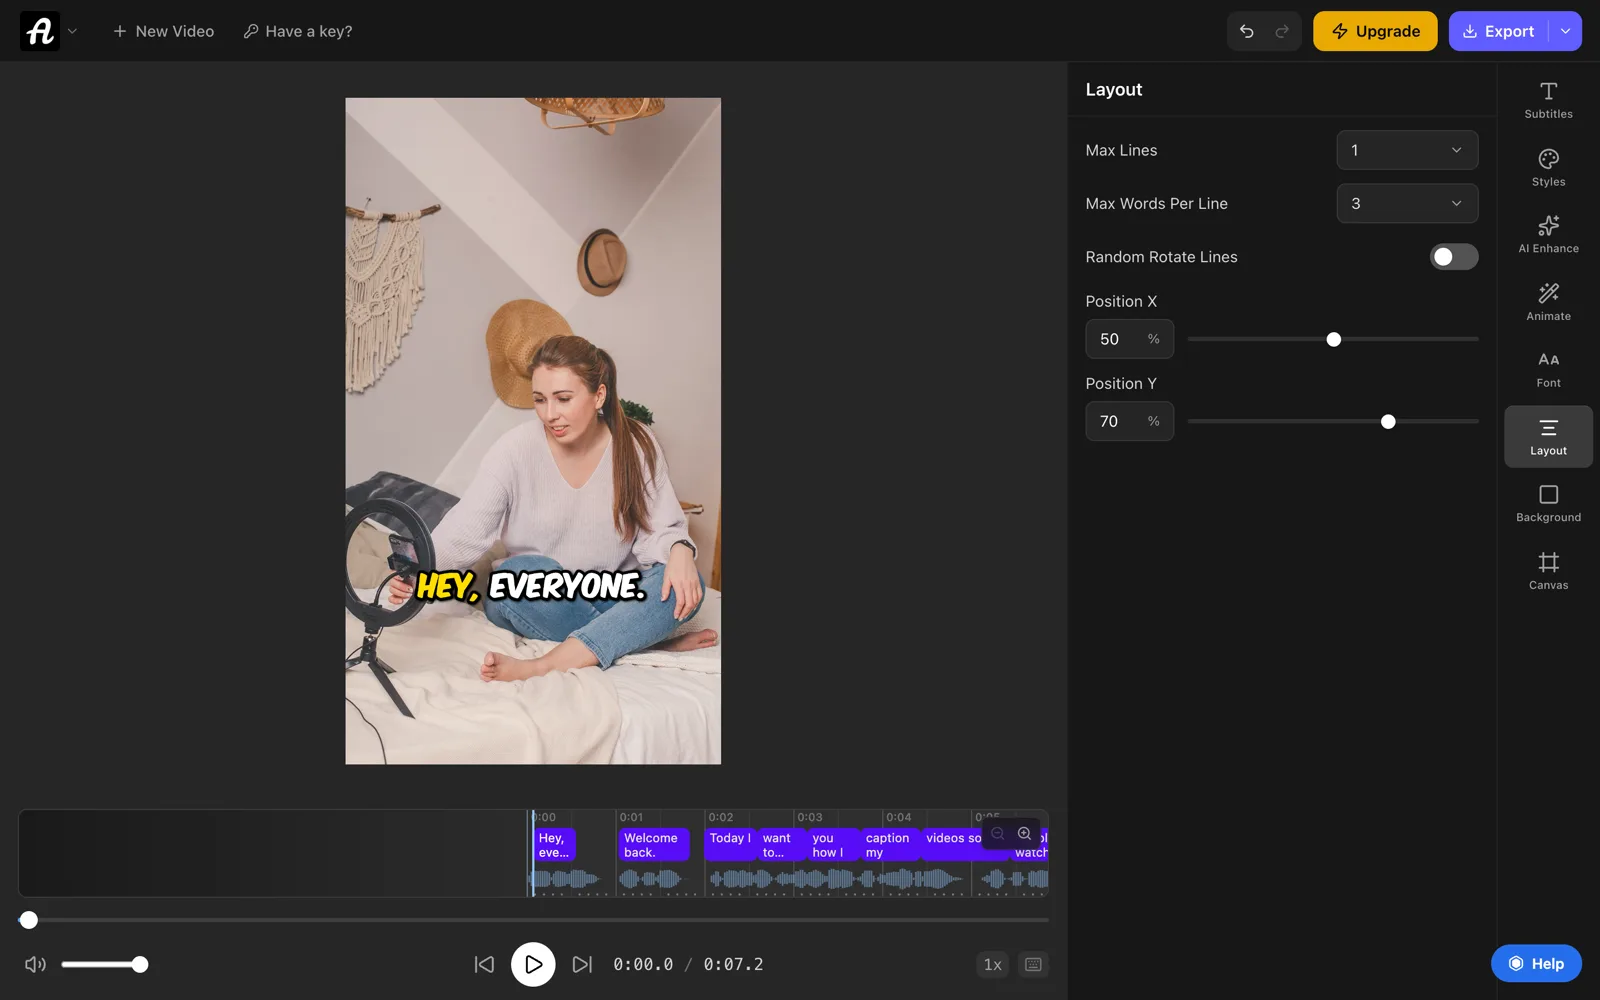
- Max Words Per Line (under Layout) set to 2 to 4, so each subtitle reads at a glance
- Position to keep subtitles clear of Instagram's buttons (see below)
- Animation such as word-by-word highlighting or pop-in, the look you see on popular Reels
Step 5: Make it 9:16
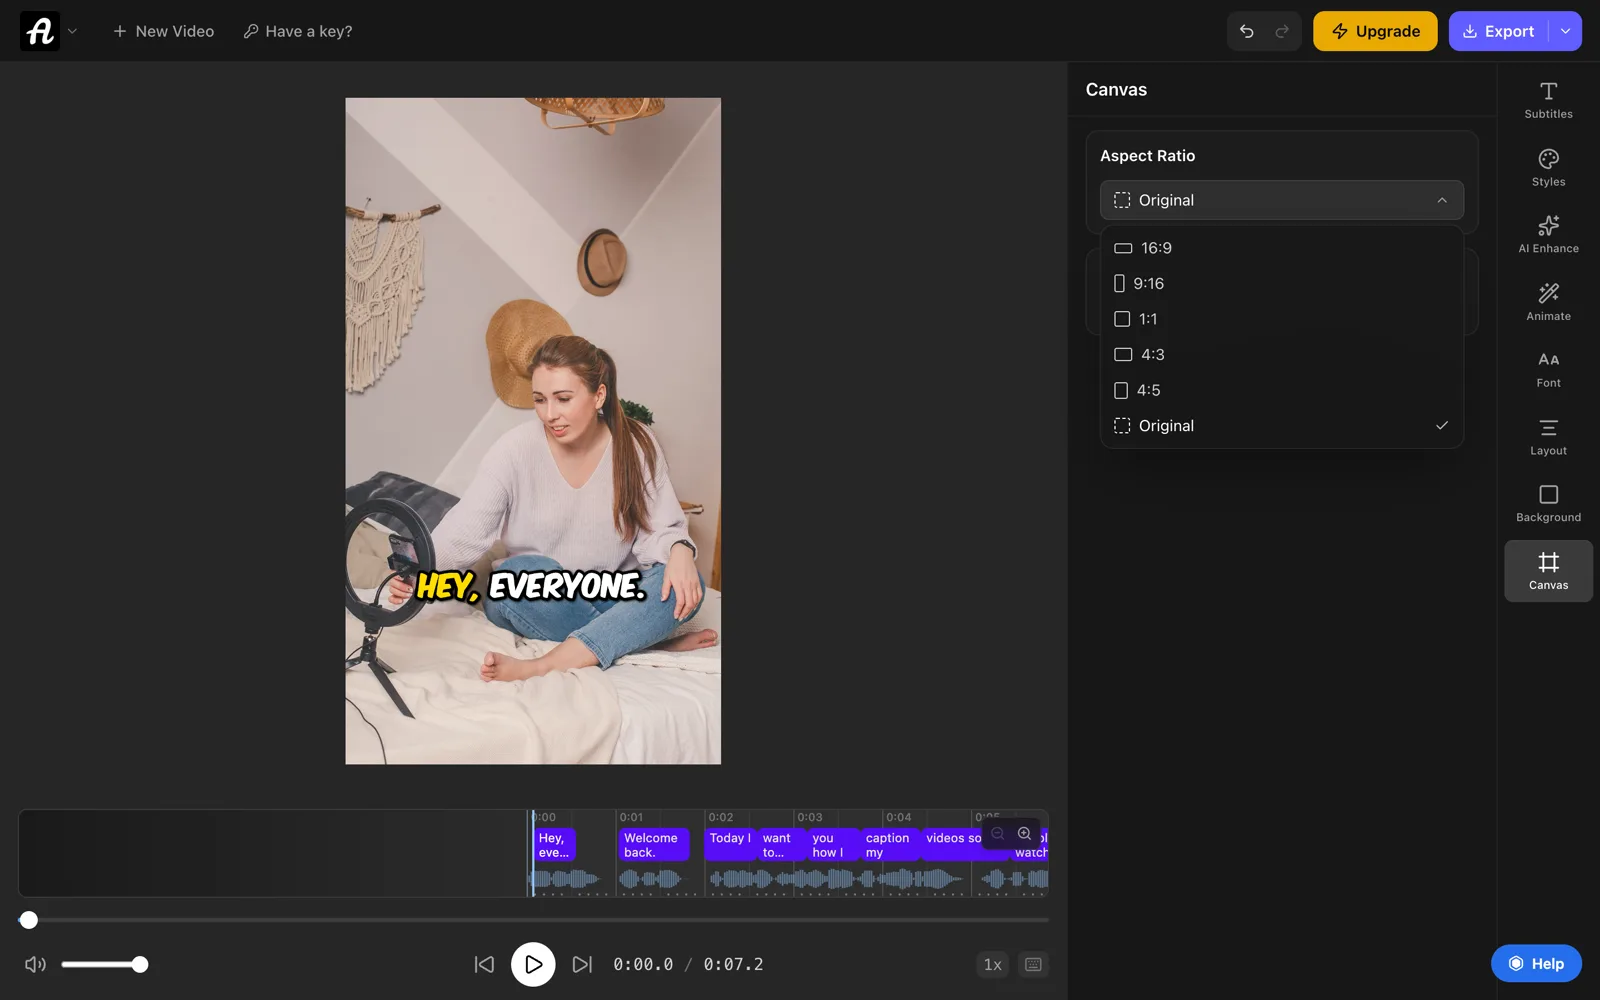
If your clip isn't already vertical, open Canvas and set Aspect Ratio to 9:16, Instagram's full-screen Reel size.
Step 6: Export and post
Export the video with the subtitles burned in, then upload it to Instagram as a Reel. Leave Show captions off, so viewers don't see two sets of text.
The free plan includes every caption style and animation and handles videos up to 10 minutes long, well over the 3-minute Reel limit. Free exports are up to 720p with a small AutoSubtitles watermark. Pro ($9/month) removes the watermark, exports in HD and 4K, and lets you upload your own fonts. See the Instagram Reels subtitle generator for more.
Which option should you use?
- Captions sticker: a quick Reel that only lives on Instagram, where a preset style is fine.
- Auto-generated captions: an accessibility layer for viewers who want captions, with no change to how your Reel looks.
- Burned-in subtitles: when the look matters, when you want highlighted, animated words, or when you'll also post the clip to TikTok or Shorts.
For YouTube and other videos, see how to add subtitles to a video.
Where to put subtitles on a Reel
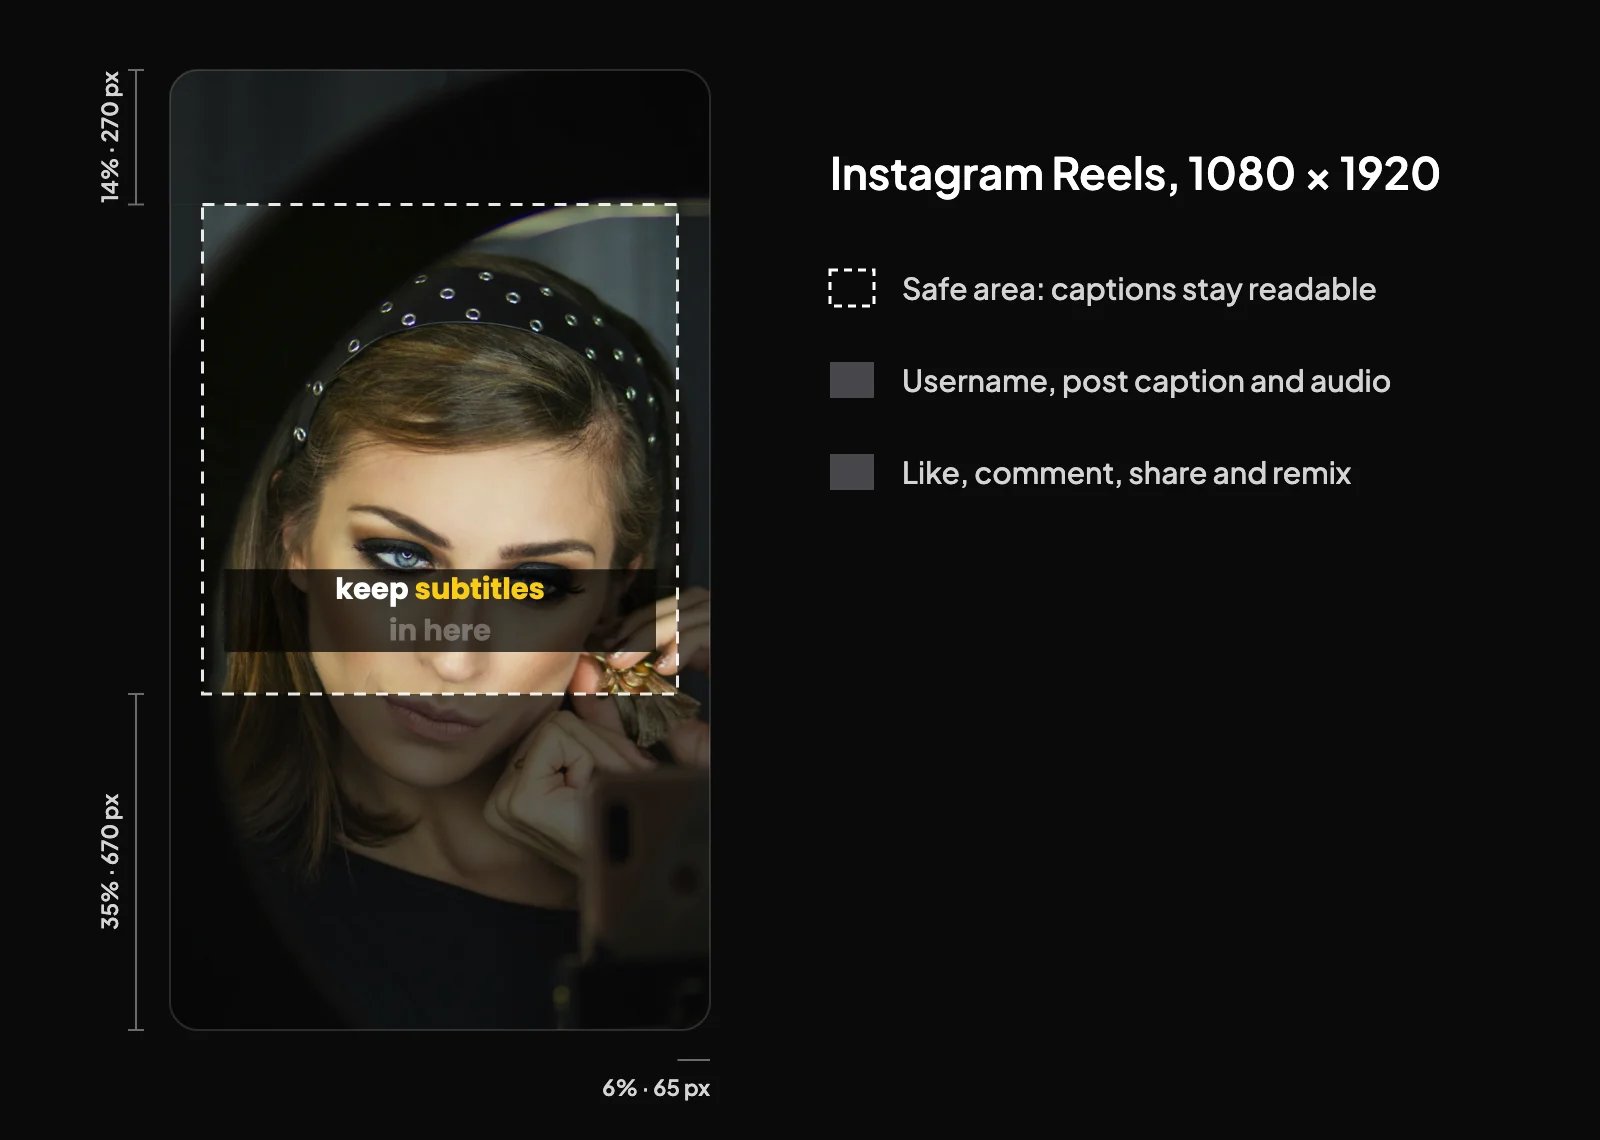
Your username, the post caption, the audio label and the like, comment and share buttons sit on top of the Reel, mostly along the bottom and the right side. Meta's safe-zone guidance for Reels ads, which works just as well for ordinary Reels, is to keep text out of the top 14%, the bottom 35% and 6% on each side (summary of Meta's safe zones). On a 1080×1920 Reel that's about:
- 270 px from the top
- 670 px from the bottom
- 65 px from each side
In practice, put subtitles in the middle of the frame or just above its lower third, never at the very bottom.
Tips for better Reels subtitles
- Make text large enough to read on a phone. Reels are watched on phones, and small text gets lost.
- Use high contrast. White text with a dark outline or background works on almost any video.
- Use short phrases. Two to four words at a time are easy to read while watching.
- Check names and brand words. Speech recognition often gets them wrong.
- Keep one style across your Reels, so your videos are recognizable in the feed.
Why add subtitles to Reels?
- Many people watch with the sound off. In a survey of 5,616 US adults, half said captions matter to them because they usually watch video with the sound off (Verizon Media and Publicis Media, 2019).
- Subtitles keep people watching. In the same survey, 80% said they're more likely to watch a whole video when captions are available.
- Accessibility. Deaf and hard-of-hearing viewers can follow your video.